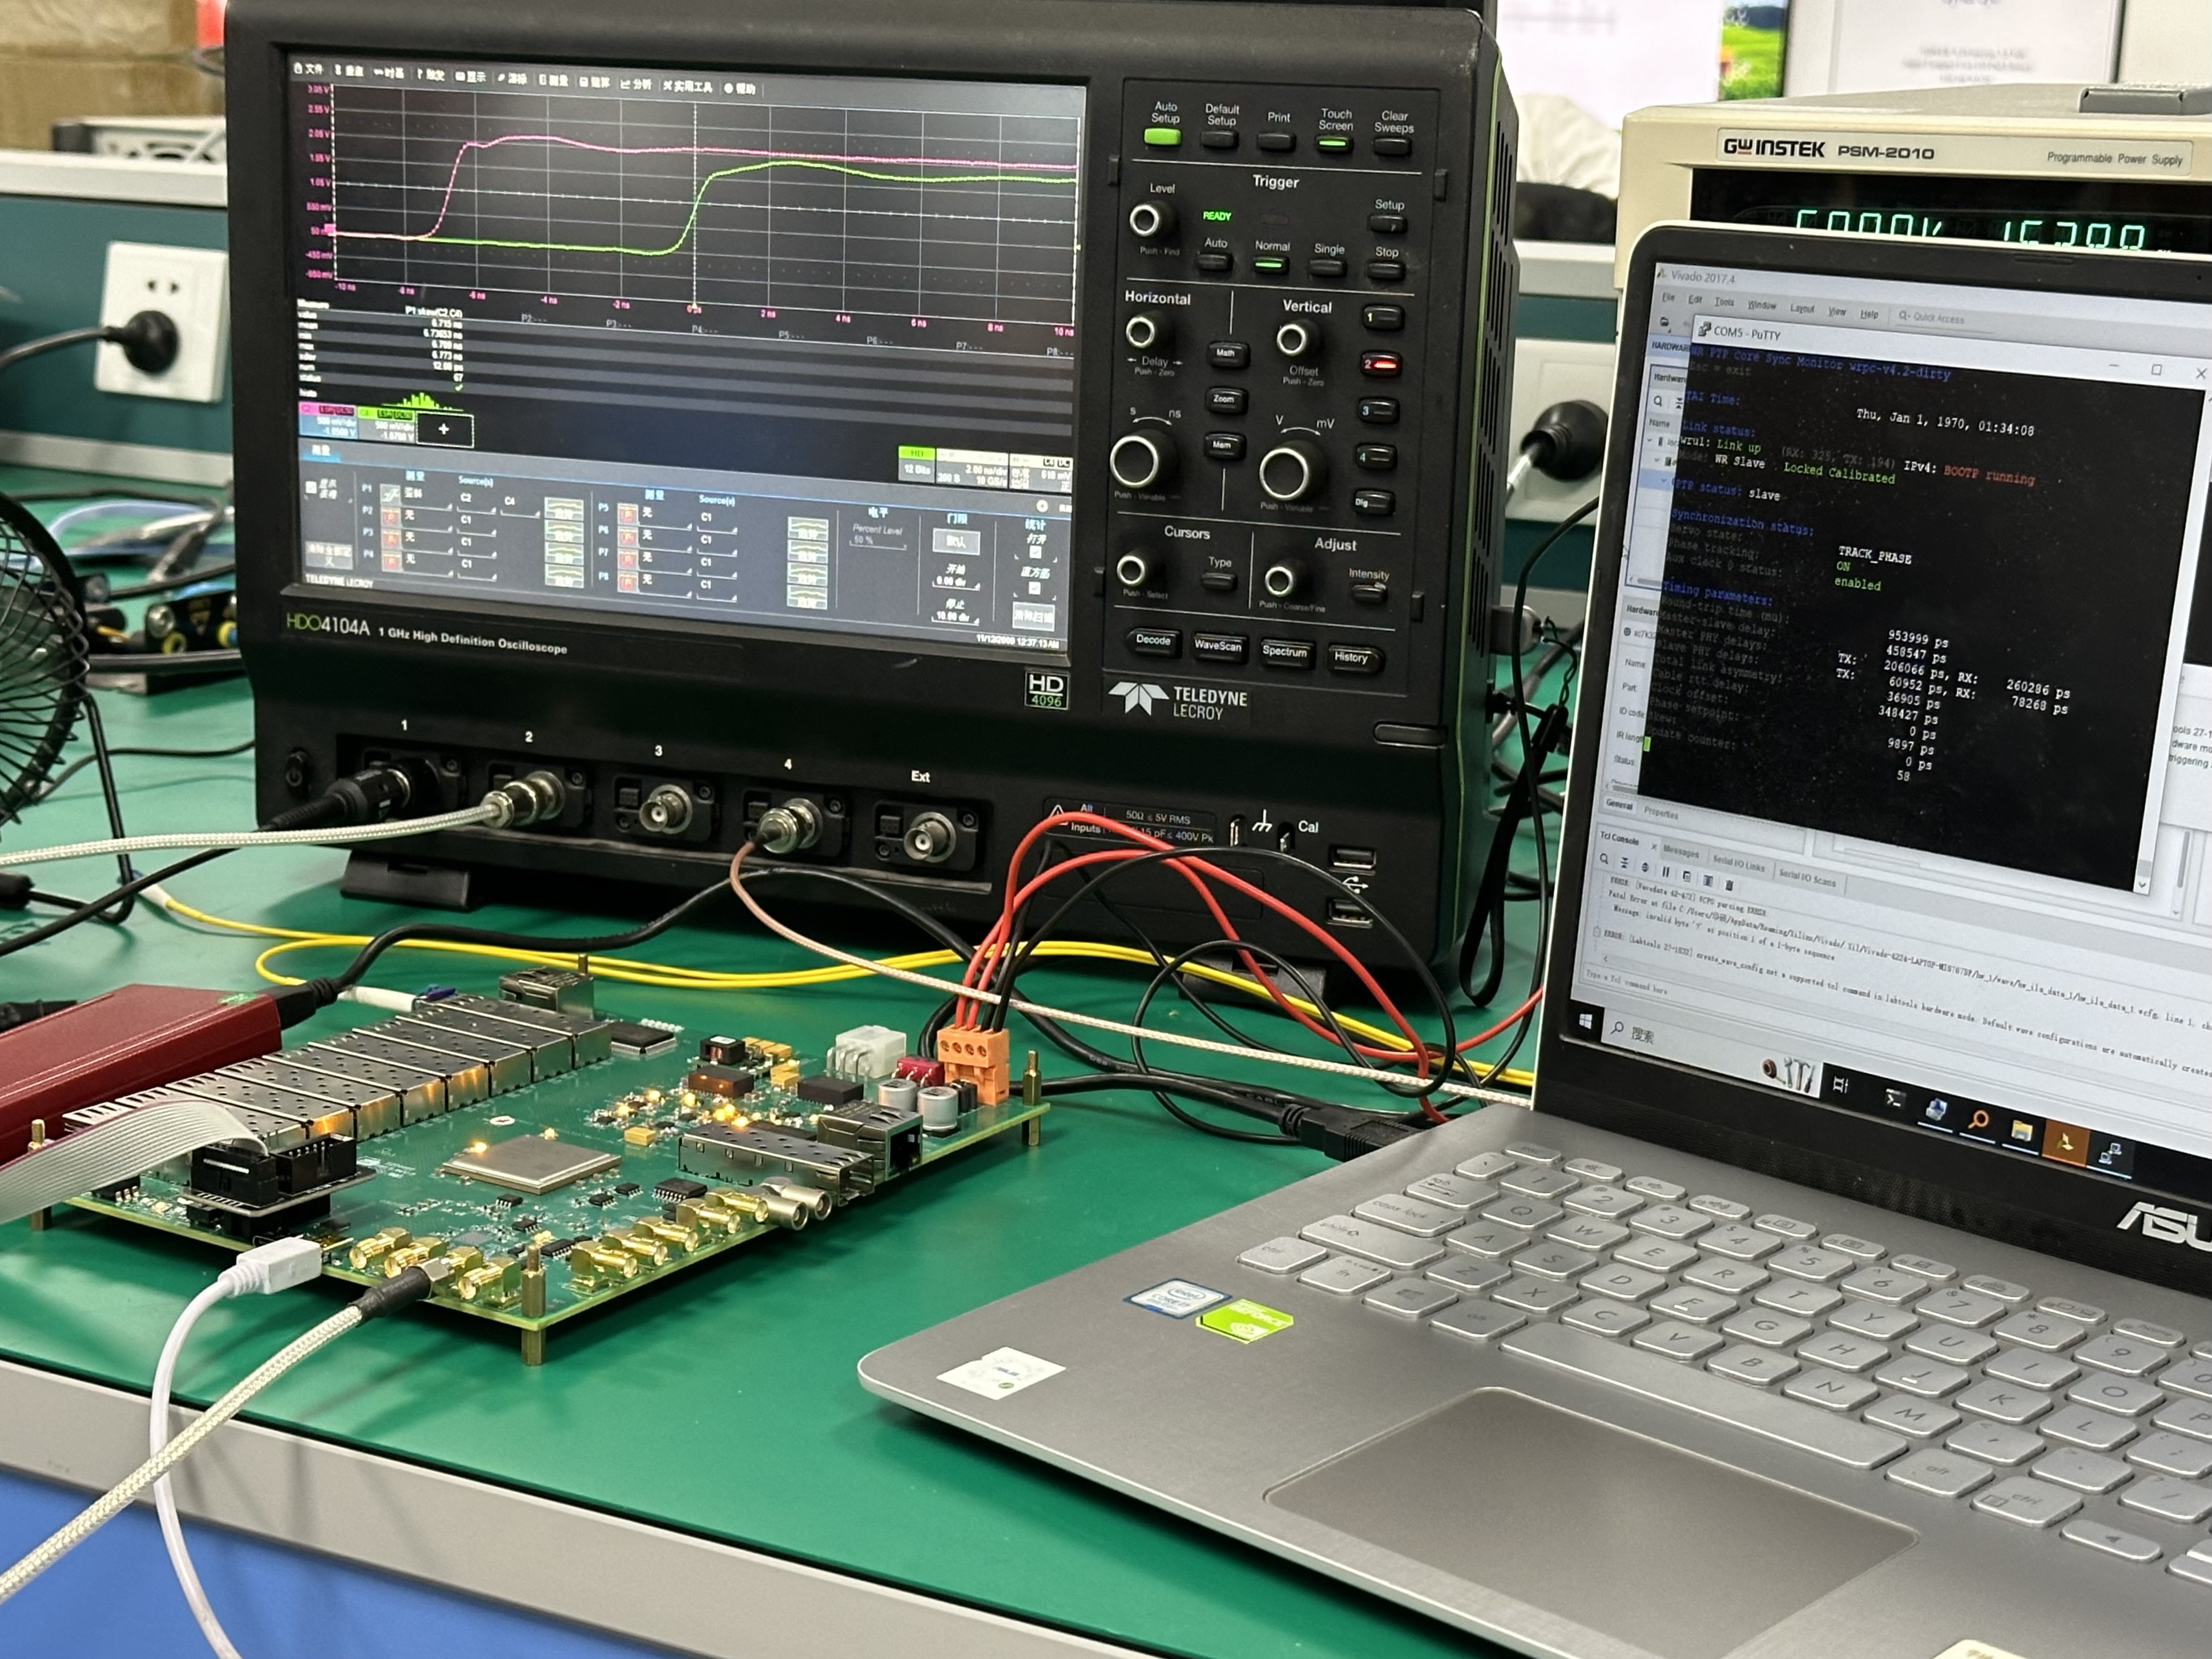
A brief summary of recent experiences with White Rabbit PTP Core(WRPC).
Software and hardware preparation
Download the required files (version 4.2) at OHWR:
- wr-cores (HDL code)
- wrpc-sw (LM32 software code)
- wrpc-user-mannual (user manual)
Hardware includes a PCB to run WRPC, a computer with Linux, a WR switch, fiber optics, etc.
LM32 software compile, get wrpc.bram
The default LM32 path for wr_core.vhd is
1 | g_dpram_initf : string := "default"; |
Since the code download link in the first chapter of the manual is from GitLab and I downloaded it from OHWR, trying to use default failed, so I recompiled LM32 anyway.
1. Preparing the Linux environment
For Windows systems, you can install the subsystem Windows Subsystem for Linux (WSL).
Two suggestions:
- Set the default version of WSL to 1. WSL 2 seems to have bugs and may fail to install.
- Don’t download too new Linux version to avoid version mismatch problem, after all, wrpc-v4.2 is from 2019. I’m using Ubuntu LTS 18.04.
2. Cross-compile
wrpc-sw is C code, and the LM32 CPU on FPGA requires HDL (IP core is sufficient), so cross-compilation is required to convert the C code to a binary suitable for the LM32 CPU.
1 | // Download and unzip the zip, 64bit version |
3. Downloading the wrpc-sw code
1 | git clone https://ohwr.org/project/wrpc-sw.git |
4. Generate the bram file
1 | make config |
| Configuration items | Configuration content |
|---|---|
| WR_SWITCH | NO |
| WR_NODE_PCS16 | YES |
| P2P | NO |
| IP | YES |
| CMD_CONFIG | YES |
| PUTS_SYSLOG | YES |
| PUTS_SYSLOG | YES |
| SNMP | YES |
| SNMP_SET | YES |
| SNMP_AUX_DIAG | YES |
| BUILD_INIT | YES |
| INIT_COMMAND | vlan off;ptp stop;sfp match;mode slave |
| AUX_DIAG | YES |
| SDB_STORAGE | YES |
| GENSDBFS | YES |
| VLAN | NO |
| WR_DIAG | YES |
| WR_NODE_SIM | NO |
| ABSCAL | NO |
| LLDP | NO |
| DEVELOPER | NO |
| LLDP | NO |
| DEVELOPER | NO |
Get the binary file wrc.bram.
Vivado synthesis to get wr_core.edif
1. Replace the path of bram file
Create a new Vivado project, import the wr-cores folder. Set wr_core.vhd to top and replace default in it with the path to wrc.bram, take F drive as an example
1 | g_dpram_initf : string := "F:/wrc.bram". |
2. Synthesize
Click Run Synthesis -> Open Eleboratated Design.
3. Generate verilog file and edif file
Enter the following command in TCL Console
write_verilog -mode synth_stub F:/wr_core.v
write_edif -security_mode all F:/wr_core.edif
Get the WRPC verilog file and edif netlist file.
Using WRPC
1. Adding WRPC
Create a new Vivado project, write the test files and add wr_core.v and wr_core.edif to the project.
2. Generating bit file and ltx file
Click Generate Bitstream.
3. Preparation before programming the FPGA.
Connection:
- JTAG connection: connect PC and FPGA via JTAG downloader
- Serial connection: connect PC and FPGA via USB Type-C (PuTTY Tutorial)
- Fiber optic connection: connect WR switch (master node) and PCB (slave node) via fiber optics
Both PCB and WR switch need to be connected to power supply.
4. Programming the device and debugging
Click Open Hardware Manager -> Auto Detect -> Program Device to program bit file and ltx file into FPGA. You can use the ILA IP core to debug FPGA.
Type Enter in PuTTY Shell, and if wrc# is displayed, then WRPC is running. WRPC-user-mannual has a list of WRPC Shell commands in Appendix A. Try gui and help first.

Comments